How to Harvest and Store Onions So They Last Through Winter
Lifting a good crop of onions feels like the end of the job. It isn't. What happens in the fortnight after harvest decides whether you're still pulling firm, sound bulbs from the shed in February or binning a slimy heap in November. Curing and storing isn't fussy ritual — it's the difference between a glut and a genuine winter supply.
Lifting at the Right Moment
Onions tell you when they're ready. The leaves yellow and flop, the necks soften and pinch thin just above the bulb, and the outer skins turn dry and papery. Maincrop bulbs usually reach that point from late July into August, depending on variety and where you garden. Autumn-planted sets and overwintering varieties are often ready from late June.
Stop watering about two or three weeks before you expect to harvest. Lifting in a dry spell makes everything easier, though a shower or two won't ruin the crop. Use a fork rather than pulling by hand, working it in a few inches away from the row and levering gently so you don't spear the bulbs. A bruised onion is a short-lived onion.
There's an old habit of bending the tops over to speed ripening. Skip it. Breaking the neck at the wrong moment opens a wound that lets rot in, and you gain very little by it.
Curing: The Fortnight That Matters Most
Curing means drying the bulbs thoroughly so the skins seal and the necks shrivel tight. Get it right and you get months of storage. Rush it and you get rot.
Leave lifted onions on the soil surface for a day or two if the weather is genuinely dry, just long enough for roots and outer skin to dry off. Then move them somewhere with moving air: a greenhouse bench, a covered porch, a shed with the door propped open, or a wire rack under a carport. Two to three weeks is typical.
Layers on a rack beat a deep pile every time, because air needs to reach each bulb. If you must stack them, keep it to two or three bulbs deep and turn the pile every few days. If rain sets in, bring them under cover straight away — a damp skin never quite dries properly.
Curing is finished when:
- the necks are completely shrivelled and papery
- the outer skins rustle and slide
- the roots snap off cleanly
- the bulbs feel light for their size
Trimming, Sorting and Plaiting
Once cured, rub off loose soil — never wash onions you plan to store — and trim the roots to about 1cm. Tops can be cut back to 2–3cm, or left long and plaited if you have a cool, airy place to hang them.
Check the crop as you trim, and take this part seriously. Set aside anything with a thick, fleshy neck that hasn't dried, anything that bolted or split, and any bulb with a bruise, a soft patch or a strong smell of raw onion. Those go to the kitchen now, not to the store.
A few rules help when you're deciding what's worth keeping:
- Thin-necked bulbs store longest — they've closed down properly.
- Thick-necked bulbs rot first. Use them within a few weeks.
- Any bulb that flowered should be eaten soon.
- Small bulbs dry quickly and can go leathery; larger, well-cured ones hold better.
- Reject anything soft at the base or brown around the neck.
Sort everything into keepers and eat-nows, then sort the eat-nows again by how soon they'll go over.
Storage Conditions That Actually Work
Onions want cool, dark, dry and airy. In an ideal world that means 1–5°C and low humidity, but most of us aren't working with a proper store. A frost-free shed, garage, unheated back room or cellar will do, provided the air moves and the floor isn't damp.
What to avoid
- sealed plastic bags, which trap moisture and cause rot
- warm kitchens, which push bulbs into sprouting
- damp corners and bare concrete that wicks moisture upwards
- storing onions alongside potatoes, which release moisture as they sit
Hang them in nets or strings, or lay them in single layers in wooden crates, slatted trays or cardboard boxes with holes punched in the sides. Label if you're keeping more than one variety, and keep older crops towards the front so you use them first. Check them monthly — fortnightly through a mild, damp autumn. One mouldy bulb left in the net can spoil its neighbours, so remove anything suspect straight away.
Keeping Rot and Sprouting at Bay
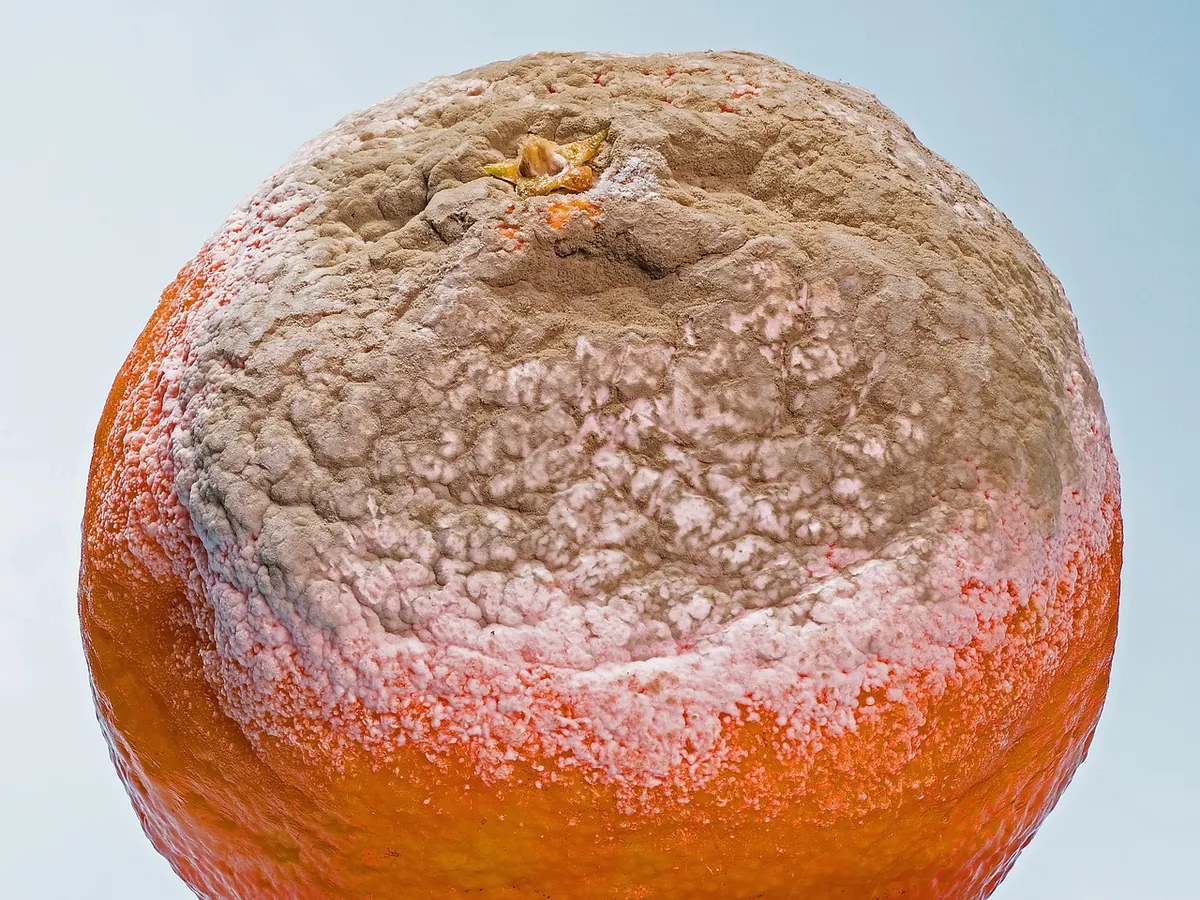
Most storage failures come back to the neck. Neck rot develops where the leaves joined the bulb, and it's far more likely if you harvested in wet weather, cut the tops too close, or stored bulbs before they were properly dry. Soft rot shows as a brown, weepy, bad-smelling patch. Downy mildew leaves greyish fuzz between the layers.
Sprouting, meanwhile, is a temperature and humidity problem. Warmth wakes the bulb up; damp keeps it going. Cold, dry and dark keeps growth dormant. If you find a soft or mouldy bulb, take it out, check the ones around it, and don't put it on the veg patch compost. A little vigilance goes a long way.
Shallots, Garlic and Leeks
The same principles apply with small adjustments. Shallots cure faster and store beautifully in nets, since their smaller size dries through quickly. Garlic behaves much like onions but is even less forgiving of damp — cure it somewhere properly airy and keep the bulbs whole until you need them. Leeks are a different crop entirely: leave them in the ground and lift as required through winter, or stand lifted leeks upright in a bucket of damp sand in a cool shed.
Your Winter Onion Plan
Four things, in order. Lift in dry weather with a fork. Cure for two to three weeks with real airflow around every bulb. Sort ruthlessly into keepers and eat-nows. Then store cool, dark, dry and airy, and check the crop every few weeks.
Do that, and a modest patch of onions can carry you right through to spring — with a few left over to start again.
Photo: Barnabas Davoti / Pexels
Troubleshooting a Smelly Compost Bin: 5 Common Causes and Fixes
A smelly compost bin usually comes down to too little air, too much water or too many greens. Here's how...
Beginner's Guide to Companion Planting in a UK Vegetable Patch
A practical UK guide to companion planting: which pairings genuinely help with pests and pollination, what...
About Us